How to Roll a Joint: Step-by-Step Guide for Ottawa Cannabis Lovers
Rolling a Joint: It’s Easier Than You Think
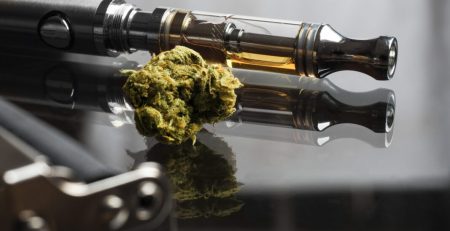
Rolling a joint is one of those skills that looks complicated until someone shows you how. It’s been the standard way to consume cannabis for generations, and despite the rise of vapes and edibles, a well-rolled joint remains the most social and satisfying way to enjoy flower. This guide breaks the process down into simple steps anyone can follow.
What You’ll Need
- Cannabis flower — About 0.5-1g per joint. Browse our flower selection
- Rolling papers — King-size papers are easiest for beginners. Available in our accessories section
- A grinder — Evenly ground cannabis rolls and burns better
- A filter/crutch — A small rolled piece of cardboard for the mouthpiece (often included with papers)
- A flat surface — A table, tray, or even a book works
Step-by-Step: Rolling Your Joint
Step 1: Grind Your Cannabis
Break up your flower using a grinder. You want a consistent, medium-fine texture — not powder, not chunks. If the grind is too fine, the joint will be hard to draw. Too chunky and it won’t burn evenly. A quality grinder makes this effortless.
Step 2: Make Your Filter
Take a small rectangular piece of thin cardboard (most rolling paper packs include filter tips). Fold one end into a small accordion (3-4 folds), then roll the rest of the cardboard around it to form a cylinder about 5-7mm wide. This is your mouthpiece — it keeps cannabis out of your mouth and gives the joint structure.
Step 3: Fill the Paper
Hold the rolling paper with the adhesive strip facing up and away from you. Place the filter at one end. Spread your ground cannabis evenly along the paper, creating a slight cone shape — a bit less near the filter, a bit more toward the tip.
Step 4: Shape and Roll
This is where practice matters. Pick up the paper and gently roll it back and forth between your fingers, using your thumbs and forefingers to shape the cannabis into a cylinder. You’re not sealing it yet — just forming the shape.
Step 5: Tuck and Seal
Once the cannabis is shaped, tuck the non-adhesive side of the paper around the cannabis, starting from the filter end. Roll upward, keeping it snug but not too tight. When you reach the adhesive strip, lick it lightly and press to seal. Work from the filter end outward for the smoothest seal.
Step 6: Pack and Twist
Use a pen, chopstick, or the end of a lighter to gently pack the cannabis down from the open tip. This ensures an even burn. Twist the tip closed to keep everything in place until you’re ready to light up.
Tips for Better Joints
- Don’t overfill — A joint that’s too fat won’t draw properly. Less is more until you get the technique down.
- Keep it even — Distribute cannabis uniformly for an even burn. Lumps cause “canoeing” (burning on one side).
- Moisture matters — If your cannabis is too dry, it’ll crumble and burn fast. Too sticky and it won’t grind well. Properly cured flower at the right humidity is ideal.
- Practice with a dollar bill — Seriously. Place a rolling paper on a dollar bill, add cannabis, and use the bill to help shape and roll. It’s a classic beginner technique.
- Don’t rush the tuck — The hardest part is the initial tuck. Take your time getting it snug around the filter end first, then work your way along.
Can’t Roll? No Problem
Rolling takes practice, and not everyone enjoys the process. Here are alternatives:
Pre-Roll Cones
Pre-shaped paper cones that you simply fill with ground cannabis and twist shut. No rolling skill required. Available in our accessories.
Pipes and Bowls
Pack ground cannabis into a glass pipe — no rolling at all. Just pack, light, and inhale.
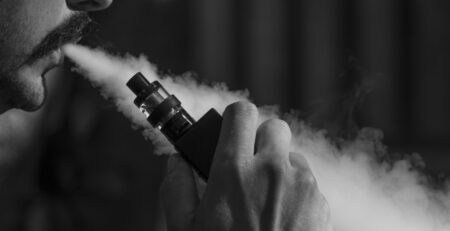
Vape Pens
Vape pens require zero preparation. Inhale and enjoy.
Order Rolling Supplies in Ottawa
Get everything you need delivered together — flower, papers, grinders, and filters — all in one order. Hydro Green Shop delivers across all Ottawa neighborhoods in 30-90 minutes.
Shop our full menu or call/text 613-614-2889.